


If you’re a musician, you know that having your recording studio is a dream come true. But what if you don’t have the space or the money to build one? You can quickly turn your spare room into a recording studio with some creativity. Keep reading to find out how.
Choosing the Studio Layout
When remodeling a spare room into a home recording studio, one of the first decisions you’ll need is what layout to go with. There are four basic layouts to choose from the corner, L-shaped, U-shaped, and square. The corner layout is the simplest option and takes up the least space. However, it’s not very efficient because it doesn’t allow for much separation between the control room and the live area.
The L-shaped layout is more versatile than the corner layout and allows for more separation between the control room and the live area. It also takes up less space than a square or U-shaped layout. The U-shaped layout is even more versatile than the L-shaped layout and allows for even more separation between the control room and the live area. However, it takes up more space than either of the other layouts. The square layout is the most efficient option because it uses all available space effectively.
However, it’s not as versatile as some other layouts since there’s no way to separate the control room from the live area. A great company that can help you decide on your studio layout is Zintex Remodeling. Zintex Remodeling primarily focuses on remodeling showers, bathtubs, and bath conversions. Still, you can utilize their services for deciding your layout and if you plan to include a bathroom in your studio.
Preparing the Room
When remodeling a spare room into a home recording studio, the first step is to prepare the room. This means soundproofing and acoustically treating the space to make it as conducive to recording as possible. Add acoustic panels or insulation to the walls and ceiling. This will help deaden the sound and prevent echoes from bouncing around. Install a door sweep or threshold seal on the door leading into the room. This will keep noise from escaping into other parts of the house.
Cover any windows in the room with heavy curtains or blankets. Windows can let in unwanted noise and light, interfering with recordings. Place rugs or furniture strategically in the room to absorb sound waves and reduce echoes. Once you prepare the room, ensure all your recording equipment is set up.
You’ll need essential equipment, including a computer, an audio interface, and studio monitors. You must also ensure a great microphone, like a rode condenser mic. Rode condenser microphones are popular for home studios, as they offer a clear and articulate sound. They can be used for both vocal and instrumental recording and are often favored by musicians and producers for their ability to capture the nuances of a performance. Rode condenser microphones come in large and small diaphragm models, so choosing the right one is essential.
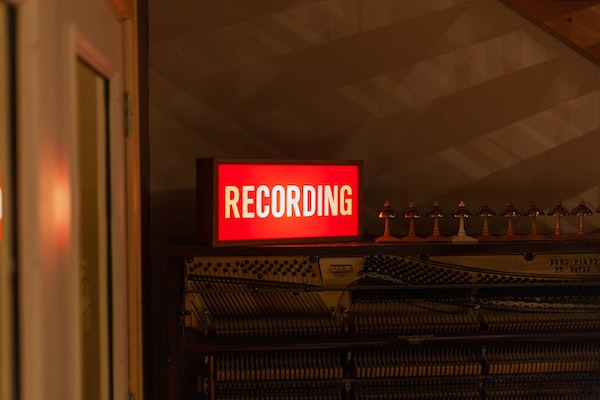
Recording Music
Once you have decided on a studio layout and prepared the studio with equipment, it’s time to record. To get started, install some recording software on your computer. Many options are available, but GarageBand is a good choice for beginners. Next, connect the audio interface to your computer. This device will allow you to input and output sound signals. Connect the microphones and studio monitors to the audio interface as well.
Open GarageBand and create a new project. Click on the “Record” button to begin capturing audio from the microphones. When you’re finished recording, click on the “Stop” button. The recorded track will appear in GarageBand’s “Track Editor” window. You can now edit your track by adding effects or changing its volume or tempo. When you’re happy with how it sounds, export it as an MP3 file or burn it to a CD.