


Screen recording is a simple yet powerful tool that can be used to create a variety of videos and presentations. It’s so easy to use screen recording software that anyone can do it in minutes! Screen recording is widely used in the following ways.
Create tutorial videos
If you are a developer, an IT professional, or simply someone who wants to create a tutorial video for something you have done, this is the right time for you. Creating a step by step tutorial videos with audio is not so tricky and can be easily shared on websites, blogs, or YouTube. With Screen Recording Software, it gets even more accessible.
This software allows users to record anything from their desktop screen, including audio of themselves talking about the steps they took to get a result on their computer screen. It also allows them to import these recordings into video editing applications like Windows Movie Maker (Windows only), which would add text or other graphics if necessary before exporting it as a finished product that can be shared anywhere online.
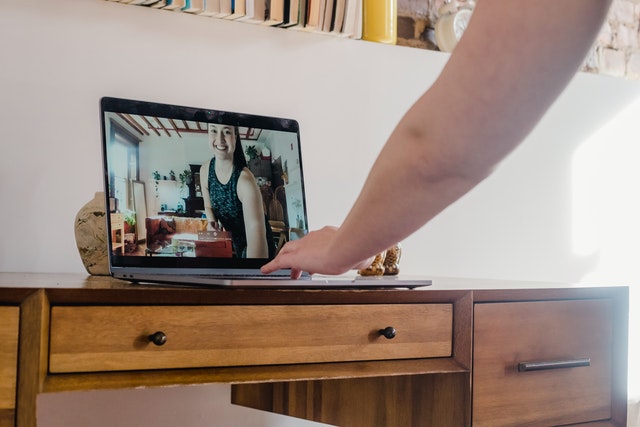
Manage presentations
Record demonstrations, presentations and conference events with voice using screen recording software; you can record the entire presentation or just parts. You can add annotations to the video and even include a watermark on your recordings. Use the software to record audio or video separately and combine them later in a video editing program.
It’s also possible to record in full-screen mode, which means you’ll be able to capture everything that happens on your computer monitor during an event.
Recorded workshops
You can use a screen recorder to record lectures, classes and workshops. Good quality software will allow you to record anything on your computer screen in HD video. So if you want to register a lecture for future reference, then the best way is to use a screen recorder.
Edit raw footage
When you record your screen, the resulting video file is usually in a compressed format like MPEG4 or MOV. To edit this file, you’ll need to convert it into a different file format suitable for editing and playing back on your computer.
Editing raw footage is time-consuming, but it’s worth it. You have more control over what appears in the final product than if you’re just working with a compressed video file. All your original audio and graphics will be preserved when converting from compressed to an uncompressed format.
Record gameplay videos
Recording gameplay videos of your favourite games is a great way to share the action with friends or upload clips to YouTube. With the right tools, you can record your screen by clicking the Start Recording button, which will begin recording video from your computer monitor. You have complete control over the quality of this recording. For example, if you want higher-quality footage but need more storage space or your computer isn’t very powerful, you can choose 720p resolution instead of 1080p HD. Once recorded, click Stop Recording and save it as an AVI file on your desktop so you can access it later on down the road. The next step involves uploading these files onto YouTube using the Upload tab inside the Dashboard Area. This article aims to give you an overview of what screen recording is and some of the ways it can be helpful.